
Short answer: the best Stardew Valley farm layout is the one that gives your most common routines a short route while leaving room to change your mind. Start with the farmhouse and shipping path, group high-frequency buildings, keep crop blocks easy to water, and protect a flexible buffer instead of filling every tile.
Farm layout ideas are easy to collect and hard to use. A screenshot can look perfect while hiding the daily walk, the machines you will add later, or the awkward corner that turns every harvest into a detour. This guide turns the visual problem into a repeatable planning process. It is useful for a new save, a mid-game redesign, or a farm that has grown one building at a time.
The examples below are planning principles, not a claim that one arrangement is universally optimal. Your farm map, season, goals, professions, multiplayer routine, and tolerance for maintenance all change the answer.
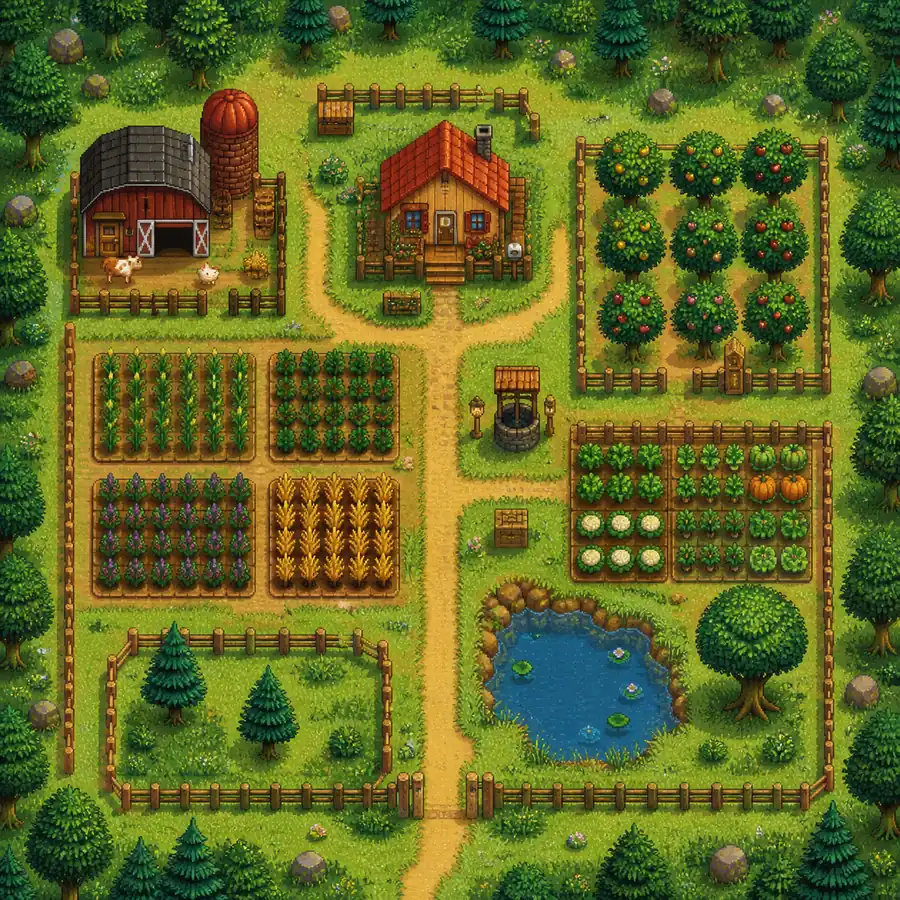
1. Decide what the farm must do before placing tiles
A layout is a response to a goal. If you do not choose the goal first, every empty tile starts to look like wasted space. Write one sentence that describes the farm you want to live with for the next season. For example: “I want a low-maintenance farm where animals and machines are close to the house,” or “I want a crop-heavy layout that makes harvest routes predictable.”
Do not confuse a goal with a theme. “Rustic” or “symmetrical” can guide decoration, but they do not tell you where the shipping bin, barns, chests, or machines should go. Pick the routine first, then use style to make that routine pleasant.
| Farm goal | Layout priority | Trade-off to accept |
|---|---|---|
| Profit and crop volume | Compact field blocks, short watering routes, nearby storage | Less decorative space and more seasonal replanting work |
| Low daily maintenance | Grouped animals, machines, paths, and clear access to entrances | Some productive tiles may stay unused as working room |
| Visual theme | Strong lines, gardens, focal spaces, and consistent materials | A pretty route may be longer than the most efficient route |
| Flexible first-year farm | Open buffers beside buildings and a temporary crop zone | Lower short-term density while your priorities are still changing |
The best farm layout for a first save is often the flexible one. It gives you enough structure to reduce walking without forcing a final answer before you know which crops, animals, machines, or relationships will matter to you.
2. Use four zones instead of scattering everything
Four broad zones are easier to maintain than a collection of tiny themed corners. The boundaries do not need to be fences. A change in path material, a row of trees, or a strip of empty grass can make the zones legible without creating extra obstacles.
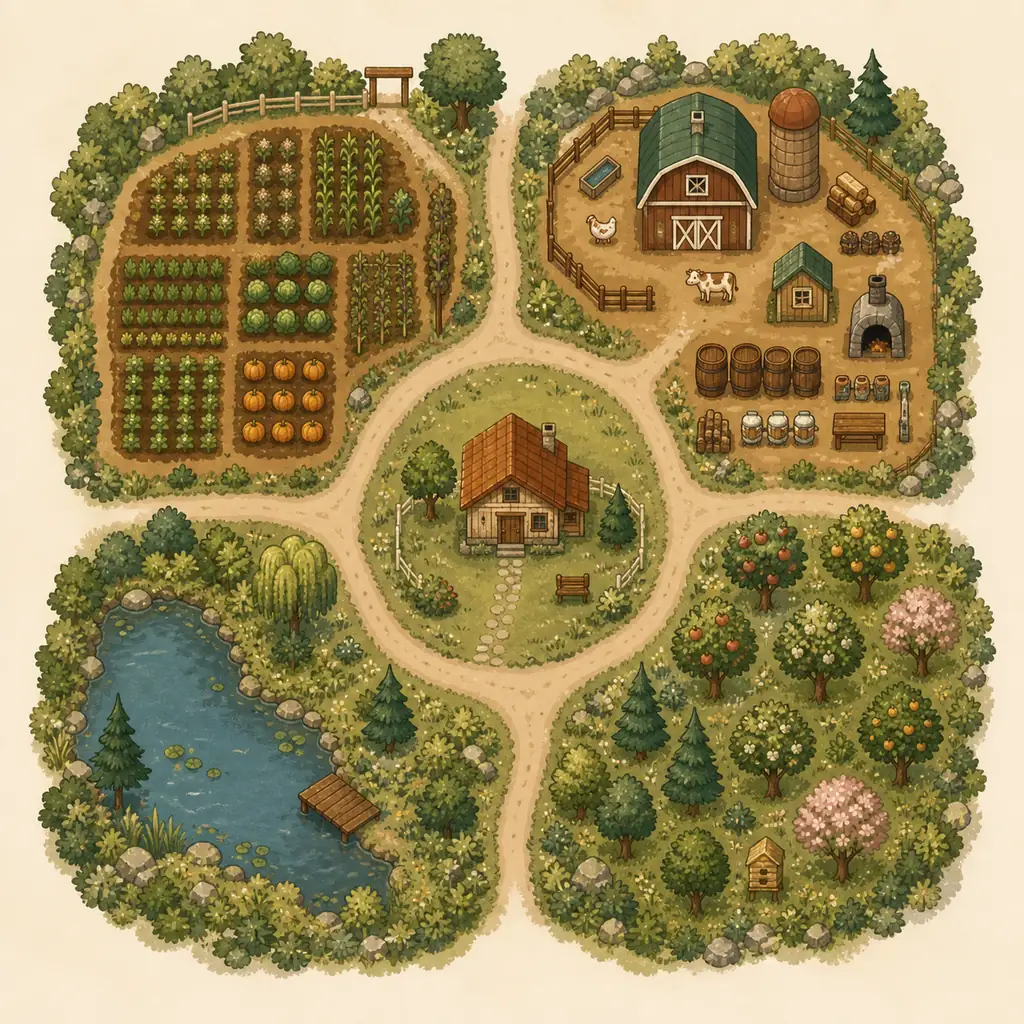
Crop zone
Keep the main crop area in a shape that matches your watering and harvest habit. Rectangles make sprinklers and replanting easy to count; smaller blocks make seasonal changes easier to isolate. Leave a working edge for chests, scarecrows, machines, or a temporary path instead of pressing the field against a fence.
Animal and production zone
Animals need access and attention, while machines need a repeatable collection route. Put barns, coops, sheds, and processing stations where you can check them in one loop. The exact order matters less than avoiding a route that cuts through your crop rows every morning.
Farmhouse and service zone
The house, shipping bin, bed-adjacent storage, and the path to the farm exit form the service spine. This is the route you will use even on days when you skip every optional task. Keep it clear and give it a little width so one new chest or decorative object does not break the whole plan.
Flexible buffer
A buffer is not empty because the plan failed. It is reserved capacity for a greenhouse project, a new shed, a tree that needs time, a multiplayer meeting point, or a future redesign. Mark it in the sketch so you do not accidentally fill it with low-priority objects.
3. Build paths around routines, not decoration
Paths become useful when they answer a repeated question: where do I walk after waking up, after harvesting, after checking animals, or before leaving the farm? Start by drawing only three routes. The first connects the farmhouse to the shipping bin and exit. The second connects the farmhouse to the highest-frequency work area. The third connects storage or production to the place where its output is collected.
- Trace the morning loop. Include the house, animals, machines, and any crop block you check every day.
- Trace the harvest loop. Make sure a full crop harvest can reach storage or shipping without crossing a decorative dead end.
- Trace the seasonal loop. Add the route to trees, forage, fishing access, or a future project only after the daily route is clear.
- Remove decorative bottlenecks. A fence, pond, tree, or statue that looks good but blocks the shortest useful route should move to the edge.
Use paths as visual guides, not as a requirement to pave the entire farm. A narrow route can be enough when the surrounding space is already readable. If you are planning a multiplayer farm, widen the routes around shared machines and entrances because two players do not occupy the same path in the same way.
4. Match the plan to the farm map
Farm map choice changes the problem before any building is placed. A Standard map gives you a useful baseline for broad blocks. A Forest map asks you to work around trees and clearings. A Riverland map makes bridges and shoreline access part of the route. A Hill-top map turns elevation and narrow corridors into a planning constraint. A Meadowlands-style animal focus changes how much room you want near grass and barns.
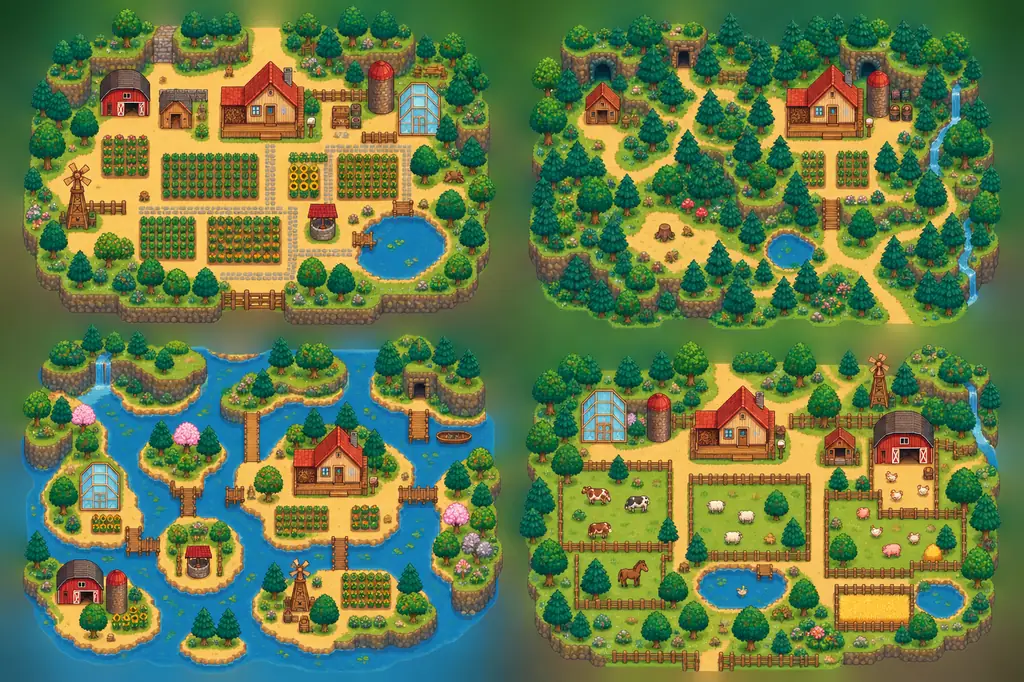
| Map direction | Good starting question | Planning response |
|---|---|---|
| Roomy baseline | Which block should stay open for later? | Use a simple spine and reserve one side for expansion. |
| Forested or irregular | Which natural clearing is worth protecting? | Place low-frequency objects around the edges and keep clearings for routes or themed spaces. |
| Water-cut or narrow | Which crossings will I use every day? | Plan bridges, shoreline work, and storage around the few routes that remain reliable. |
| Animal-focused | How close should care tasks be to storage? | Group animal buildings and leave room for grass, gates, and a collection loop. |
These are planning directions, not a replacement for the current map rules. For map facts, compare the Farm Maps reference and the Farm overview before committing to a tight design.
5. Validate the sketch before committing resources
Once the zones and routes are visible, test the idea with a small sketch instead of rebuilding the entire farm in your head. The Stardew Valley farm planner on this site is intentionally a visual planning board: choose a tile type, place it on the grid, save locally, and export JSON if you want a portable draft. It does not know every collision rule, calculate a complete game database, or promise that a sketch can be placed one-for-one in a live save.
Use the sketch to answer practical questions. Is the main path obvious without a fence? Can you see where the next barn or shed would go? Does the crop block leave room for chests and seasonal changes? If the answer is no, clear the draft and try a simpler relationship between zones. A planning tool is most useful when it helps you reject a weak idea early.
6. Three practical layout patterns
You do not need to copy a finished screenshot. Choose a pattern that matches the way you play, then adjust its spacing to the map in front of you.
| Pattern | How it works | Best for |
|---|---|---|
| Starter corridor | One clear path from the house to a compact crop block and a small service area. | Year 1 saves, frequent redesigns, and players who want a readable first draft. |
| Production bands | Crop, animal, machine, and storage areas sit in parallel bands connected by one cross-route. | Players who want predictable daily loops and easy expansion. |
| Flexible mixed farm | A few stable anchors surround a large buffer that can become trees, buildings, or decoration later. | Long saves, changing goals, co-op farms, and players who dislike rebuilding. |
A pattern is a starting constraint, not a score. If a production band forces you to walk around a pond every day, the pattern is wrong for that map. If a decorative garden blocks the only route to a barn, move the garden. Your best Stardew Valley farm layout is the one that reduces repeated friction without taking away the parts of the farm you enjoy looking at.
7. Common mistakes and limits
- Filling every tile: a full map leaves no place for new machines, trees, quests, or a change of mind.
- Optimizing only one season: a crop block can be efficient today and awkward when your next seasonal goal changes.
- Using paths as decoration first: decorative lines are expensive when they force longer animal, harvest, or shipping routes.
- Copying a screenshot without its assumptions: a high-level farm design may depend on a different map, unlock state, profession, or multiplayer routine.
- Treating a visual planner as a collision validator: use the sketch to compare relationships, then confirm exact footprints and rules in the current game version.
The site also has a deliberate data boundary. The home tools are useful for a first pass, but their bundle, gift, and crop references are not a complete automatically updated wiki. When a decision depends on a version-specific item, building footprint, map rule, or mod, verify it against a current reference before acting.
FAQ
What is the best Stardew Valley farm layout?
There is no single best layout. A practical choice is the one that matches your most repeated routine: a compact crop farm for profit, grouped buildings for low maintenance, or a flexible mixed plan when your goals are still changing.
How do I start a Stardew Valley farm layout?
Mark the farmhouse, shipping route, and exit first. Then draw one daily work loop, place the highest-frequency buildings near it, and reserve a buffer before adding decoration or low-priority objects.
What should I include in a standard farm layout?
Start with a readable service spine, a crop area with working edges, grouped animal or production buildings, storage access, and at least one open expansion zone. Adjust the exact blocks to your goals and map.
Is a Stardew Valley farm layout planner accurate?
A planner is useful for comparing space, routes, and ideas, but accuracy depends on its data scope. The Valley Ledger board is a visual sketch and does not replace current game rules, collision checks, or a complete versioned database.
Should I leave empty space on my farm?
Yes. Empty space is useful capacity for machines, buildings, trees, seasonal changes, co-op movement, or a redesign. A buffer often prevents more work than it costs in unused tiles.
Summary
Start your Stardew Valley farm layout with a job, not a screenshot. Choose the routine you want to make easier, divide the farm into crop, animal or production, service, and flexible zones, connect only the routes you repeat, and choose a map-specific response. Then use a small visual sketch to find bottlenecks before you spend resources. A layout that leaves room for the next season is usually more useful than one that looks finished on day one.
References: official Stardew Valley site and the Stardew Valley Wiki Farm Maps reference.