
Quick answer: choose Lava Eel when you want a repeatable, roe-focused pond; choose Sturgeon for Caviar; choose Blobfish or Stingray when a chance at their special drops matters more than steady sale value. Legendary fish can have valuable roe in the site's 1.6.15 PC reference, but they are scarce and do not make a dependable pond-filling strategy. The best fish for a fish pond in Stardew Valley depends on what you want the pond to do, not on one universal ranking.
This guide compares fish by outcome, repeatability, and practical fit. It separates a high item price from a reliable farm routine, calls out which rewards are chance-based, and gives a small lineup for an early save and a developed farm. The reference boundary is the site's Stardew Valley 1.6.15 PC dataset, checked August 11, 2026. That is a data scope, not a claim that 1.6.15 is the latest release. Mods, platform builds, and later patches can change details.
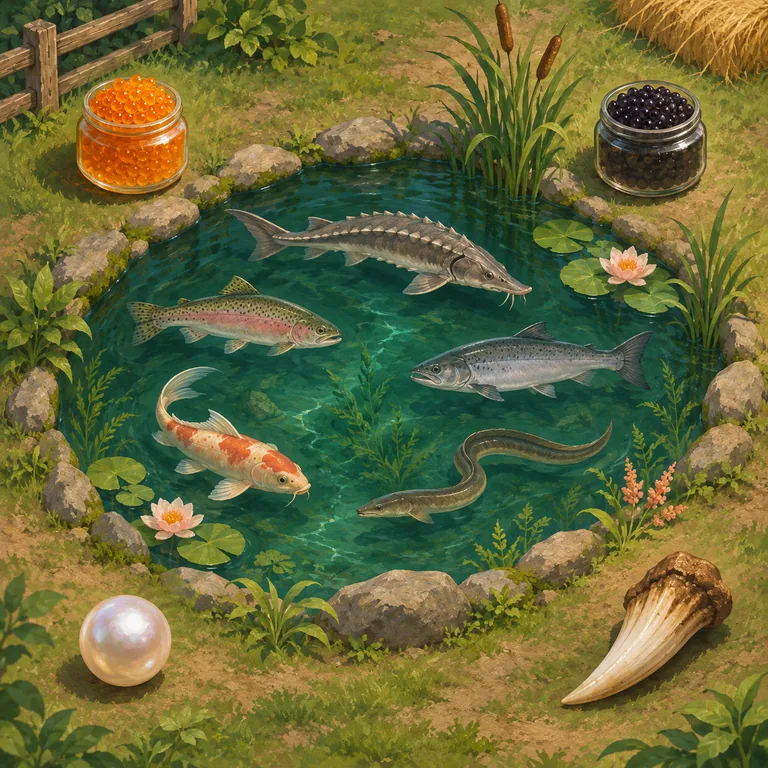
What changes when a fish goes into a pond?
A Fish Pond turns a fish into a long-term farm input. Its occupants can reproduce up to a population limit and produce roe or species-specific items over time. This is different from selling the fish you catch: you trade some immediate value and pond space for recurring output, a chance at a special item, or progress toward a collection goal.
Three details change how a “best fish” list should be read:
- Roe is not the same as profit. The fish species affects roe value, and aging roe adds time and processing capacity to the calculation. Compare the whole route you will actually use rather than only the base price of one item.
- Special drops are not guaranteed. A Pearl, Warp Totem, ore, or progression material can make a pond valuable for a particular save, but a chance-based output is not a predictable daily paycheck.
- Getting the fish matters. Some useful pond fish are difficult, seasonal, or late-game catches. A theoretical top pick is not practical if you cannot catch it or would rather keep that fish for another purpose.
Population requests can also affect the time it takes a pond to reach its larger capacity. Treat those requests as part of the setup cost. If you want the capture route for a particular species, use the site's Stardew Valley fishing guide for rod, bait, location, weather, and timing decisions. This page stays focused on what to put into the pond after you have a fish.
Best fish for a Stardew Valley fish pond by goal
Use this table to pick a first pond or decide whether a new pond adds something your farm does not already have. “Best” means best fit for the named goal. It does not mean every output is guaranteed or that a single fish wins on every save.
| Your goal | Fish to consider | Why it fits | Trade-off |
|---|---|---|---|
| Repeatable roe value | Lava Eel | A strong regular-fish choice when you want valuable roe from a fish you can catch again. | It is a demanding catch and its special drops are not the reason to count on it. |
| Caviar | Sturgeon | Sturgeon roe can be processed into Caviar, giving the pond a clear artisan-goods role. | Processing takes a Preserves Jar; an unprocessed roe plan and a Caviar plan have different timing. |
| Rare collection items | Blobfish | A pond may produce a Pearl or Farm Warp Totem, so it can support collection or convenience goals. | Special items are a chance, not the regular output you should use for a guaranteed budget. |
| Late-game materials | Stingray | Its possible Dragon Tooth and other special materials can matter when you are progressing through Ginger Island. | The materials are not a substitute for a predictable material farm; acquisition may be late in a save. |
| Highest roe value per item | Legend or Legend II, if eligible in your version | The site's 1.6.15 PC reference lists very high roe value for these rare fish. | Availability is scarce and does not scale like a normal repeatable fish. Verify current version rules before committing one. |
| Easy-to-explain utility | Super Cucumber or Octopus | Consider them when their possible special items match a specific collection or supply need. | Choose them for that need, not from an assumption that every pond harvests the rare item. |
The most useful comparison is usually Lava Eel versus Sturgeon. Lava Eel is the practical answer when you want a repeatable, higher-value roe route and are willing to fish for it. Sturgeon is the clear answer when you specifically want Caviar or a Caviar-related objective. If both objectives matter, separate them into two ponds instead of forcing one species to cover both jobs.
For repeatable roe value: Lava Eel
Lava Eel is a strong regular-fish candidate for a pond centered on sellable output. Its advantage is not that every day produces an identical high-value item; it is that the pond can keep producing roe while the fish population remains stocked. Put a Preserves Jar or other processing plan into the comparison only if you have capacity for it. A row of ponds can create a collection bottleneck if jars, storage, or daily time are already full.
For Caviar: Sturgeon
Sturgeon earns its place through a distinct product. Put Sturgeon in the pond when Caviar is the purpose, when you need it for a collection objective, or when you want an easy-to-explain artisan line. If your only goal is fast gold, compare the full time spent catching, collecting roe, processing it, and selling it against your other farm work. The fish is useful because the output is specific, not because it removes all waiting.
For a useful chance drop: Blobfish or Stingray
Blobfish and Stingray are better framed as utility choices than as guaranteed income. Blobfish may produce a Pearl or Farm Warp Totem; Stingray may produce materials that help with later progression. Those possibilities are attractive when the item would save you a trip or unblock a goal. If you need a steady amount by a deadline, use the direct source for that item instead of assigning a chance drop a fixed value.
For rare fish: separate scarcity from output
A rare fish may have a striking roe price and still be a poor choice for filling several ponds. Rarity limits how many you can acquire, and a one-off fish can have collection or personal value outside the pond. If you place one in a pond, make it a deliberate collection or high-value experiment. Do not build a plan that assumes you can restock an unlimited set of ponds with it.
Practical fish pond lineups for different saves
A lineup should reflect the farm stage and your storage or processing capacity. The goal is a small set of useful ponds, not the maximum number of ponds the farm can fit.
| Save stage | First pond | Second pond, if useful | Why this stays manageable |
|---|---|---|---|
| Newer farm | Sturgeon when Caviar is the goal; otherwise a fish you can catch reliably | Wait until you know what the first pond produces | One pond keeps fish acquisition and processing from competing with crop and bundle work. |
| Established farm | Lava Eel for a repeatable roe route | Sturgeon for Caviar or a utility fish tied to a current objective | Each pond has a job, so extra fish do not become an untracked collection pile. |
| Collection-focused farm | Blobfish, Stingray, or another fish whose special item matters | A separate roe-focused fish if you also want recurring sale value | Rare outputs are treated as bonuses; a predictable pond remains the baseline. |
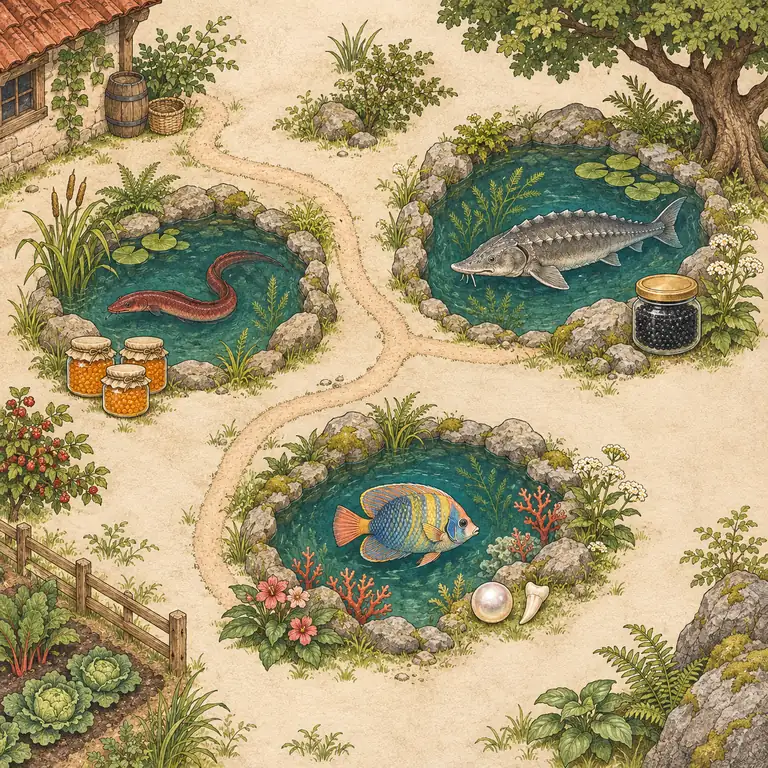
For example, a farm that already has several Preserves Jars may benefit more from one Sturgeon pond than from another pond producing roe that will sit in a chest. A player working on a late-game collection may value a chance at a rare drop, while a player who wants a calm daily loop may prefer the simplest repeatable output. Both choices can be sensible because “best” depends on the constraint being solved.
A short decision process before you commit a pond
- Name the result. Write “roe,” “Caviar,” “rare item,” or “collection” before choosing the fish. If the answer is only “profit,” decide whether you mean steady value, value per item, or value over time.
- Check that you can get the fish. Match season, weather, location, time, and skill to the actual catch. The site's fishing guide covers those conditions; use the Community Center bundle guide if a fish may be needed for a bundle.
- Count the follow-up work. Include pond space, collection trips, jars, storage, and time. A rare item with a low chance should be a bonus in your plan, not a promised return.
- Keep reversibility in mind. Before committing a rare fish, check how you would restock it and whether you want to retain one for a collection or future goal. Avoid treating pond replacement as free if the fish is hard to catch.
- Record the version boundary. Check a version-matched reference if your save is modded or the game's mechanics have changed. A guide's data date is more useful than an unsupported “latest” label.
If you want to see how a new pond fits into the farm, sketch its footprint in the farm planner before moving buildings. The planner is a visual draft, not a game collision checker. For exact drop chances, pond capacity requests, and species rules, consult the community-maintained Fish Pond reference and compare it with your game version.
What this comparison does not promise
This page does not calculate expected gold per day, account for every fish's full catch difficulty, or simulate a modded save. The choice table is a planning aid built around common goals. Pond outputs can take time, and special items are probabilistic. A result that is valuable on average can still be absent for a stretch of in-game days.
The game's current data should be checked before relying on an exact price, drop rate, population request, or platform-specific rule. The site's reference is a Stardew Valley 1.6.15 PC snapshot verified on August 11, 2026. Stardew Valley Wiki pages are community maintained rather than official documentation; the price comparison is a third-party snapshot. They are included as checkable references, not as an official endorsement.
For the broad mechanics, see the Fish Pond page and Roe page on the Stardew Valley Wiki. For a current-price comparison within the site's chosen data boundary, compare the StardewPriceDB fish pond guide. These sources have different scopes, so check the assumptions on each before using a single number as a farm forecast.
Stardew Valley fish pond questions
What is the most profitable fish for a Stardew Valley fish pond?
For a regular fish you can catch and restock, Lava Eel is a strong roe-focused choice. A Legendary fish can have more valuable roe per item in the site's 1.6.15 PC reference, but it is not a repeatable starter and should not be treated as a dependable multi-pond income plan. Compare the output you can actually maintain, not just the highest item price.
Should I choose Sturgeon or Lava Eel?
Choose Sturgeon when Caviar is the goal or you need its bundle-related use. Choose Lava Eel when you want a recurring pond fish with valuable roe and are comfortable catching it. Their pond jobs differ, so one is not a universal upgrade over the other.
Are Blobfish or Stingray good pond fish?
They can be useful when their special drops matter to your save. Blobfish is commonly chosen for a chance at a Pearl or Farm Warp Totem; Stingray can produce progression materials such as Dragon Teeth. Those are chance-based outcomes, not guaranteed daily harvests.
Can a fish pond produce rare items every day?
No. A pond may produce roe or a special item on different intervals, and special drops are probability-based. A good recommendation is a fit for the result and time horizon you want, not a promise of a particular item each morning.
Do I need to complete fish pond quests?
Fish ponds can request an item from their occupants before the population limit increases. The request depends on the fish and pond state. Check the current in-game prompt and a version-matched reference before spending or discarding a requested item.
How do you use a fish pond in Stardew Valley?
Add a fish to the pond, respond to any item requests that increase its population limit, then collect the roe or species-specific items it produces over time. Choose the fish based on whether you want processing value, Caviar, a collection item, or a useful material.
How many fish do you need to start a pond?
You can start with one fish; the pond can grow its population over time. Requests may be needed to raise the population limit, so you do not have to catch a full group before placing the first fish.
Do fish pond quests restart if I reset the pond?
Yes. A pond reset used to switch species restarts its population progression, so the capacity requests may need to be completed again. Catch and keep any residents you want before using the reset option. Check the current in-game prompt before clearing a pond.
Does this guide cover fish pond size or every pond mechanic?
No. It focuses on choosing a species. Pond footprint, full construction costs, every population quest, mods, and platform-specific behavior are outside its comparison scope; use the linked Fish Pond reference for mechanics.
Short verdict
Start with Lava Eel for a repeatable roe-focused pond, Sturgeon for Caviar, and Blobfish or Stingray when a chance at a specific utility item is worth the wait. Treat rare-fish roe as a scarce option, not a scalable farm system. Pick the fish whose output matches your save, processing capacity, and willingness to wait.
For the fish-catching route, continue to the Stardew Valley fishing guide. For bundle planning, use the Community Center guide.