
Short answer: start with the Bamboo Pole, fish in a spot with a short walk from your current errands, and practice the green bar rather than chasing the rarest fish first. Upgrade to the Training Rod if the minigame feels too fast, then move to the Fiberglass Rod when you want bait. The Iridium Rod is a late upgrade for bait plus tackle. This Stardew Valley fishing guide keeps the decision practical: choose a rod, read the time and weather window, cast repeatedly, and protect any bundle fish before selling it.
Fishing is both a money route and a timing puzzle. A river, lake, or ocean fish can depend on season, weather, time of day, and the exact water body. A list of fish names is useful only after you know how to make the minigame predictable. The sections below explain the control loop, the gear trade-offs, a low-stress practice route, and the limits of a focused guide. It is written against a Stardew Valley 1.6.15 PC reference boundary checked on October 31, 2026; mods, remixed bundles, platform changes, and future patches can change details.
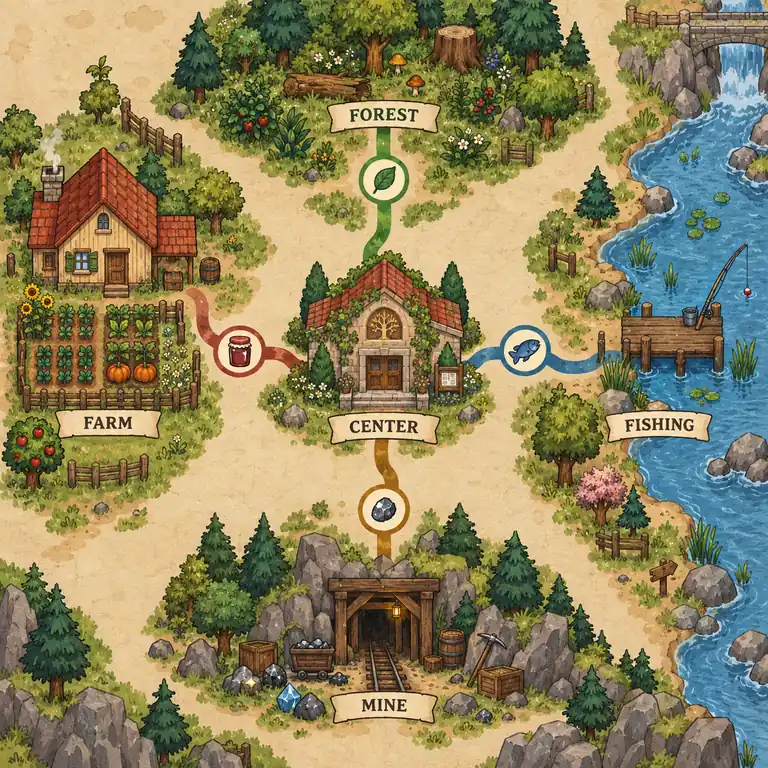
How Stardew Valley fishing works
Use a fishing rod near a fishable water tile, hold the cast button to set distance, release, and wait for the bite. When the bite appears, press the action button to start the fishing minigame. A green bar follows the fish icon: keep the bar over the icon until the catch meter fills. The bar rises while you hold and falls when you release, so short taps are usually easier than one long hold.
The important skill is not memorising a single rhythm. Fish move in different patterns, and the bar has inertia. Begin with small movements, watch where the fish is travelling, and keep the catch meter from emptying. If a fish drops quickly, let the bar fall instead of over-correcting. The first goal is a controlled catch, not a perfect catch.
| Part of the loop | What to notice | Useful first action |
|---|---|---|
| Cast | Distance changes where the bobber lands and which water tiles you can reach. | Cast from a clear bank and avoid blocking your own landing spot. |
| Bite | A bite is a timing cue, not a reason to hold the button early. | Press once when the bite marker appears, then enter the minigame calmly. |
| Green bar | The bar has momentum and the fish can reverse direction. | Use short taps and leave room above and below the fish icon. |
| Catch meter | It fills while the fish stays inside the bar and drains when it escapes. | Protect a nearly complete catch instead of chasing a sudden jump. |
Fishing skill levels increase as you catch fish, and higher skill makes the bar easier to manage. That creates a useful feedback loop: a short practice session can make the next session feel noticeably calmer. You do not need to start with a legendary fish, a perfect catch, or expensive tackle to make progress.
Which fishing rod should you use?
Rod choice is mostly a question of control and timing. The first rod gets you on the water, the Training Rod simplifies early practice, the Fiberglass Rod adds bait, and the Iridium Rod opens both bait and tackle. Do not buy the most expensive rod before you know whether you enjoy the minigame; a cheaper rod used often is more useful than an upgrade left in a chest.
| Rod | Best use | Trade-off | Decision |
|---|---|---|---|
| Bamboo Pole | First casts and learning the control loop. | No bait or tackle slots. | Use it immediately; do not wait for perfect gear. |
| Training Rod | Learning the minigame with a more forgiving bar. | It is limited to easier fish and does not replace a long-term rod. | Buy it when the green bar feels too small or jumpy. |
| Fiberglass Rod | Faster bites and more deliberate practice with bait. | It cannot equip tackle. | Choose it when you can afford bait and want more casts per day. |
| Iridium Rod | Flexible fishing with bait and tackle together. | High upfront cost; tackle is another resource to manage. | Save for it after fishing is part of your normal routine. |
Rod prices and unlock conditions are easy to check in the Stardew Valley Wiki fishing rod reference. The practical rule is simple: use the Training Rod for control, the Fiberglass Rod for bait, and the Iridium Rod when you can explain why tackle will improve your catches.
A repeatable casting routine for new saves
A reliable routine removes the pressure from every individual cast. Before leaving the farm, check your energy, weather, time, and inventory. Bring food if you plan a long session, leave space for fish, and decide which nearby errand will share the trip. Then follow the same five steps:
- Choose one water body. Start with the river, mountain lake, or ocean that fits your current route. Do not spend the morning walking between three spots.
- Cast to a clear tile. Hold and release the cast so the bobber lands away from shore clutter and reachable tiles are easy to repeat.
- Watch the bite, not the clock. Press only when the bite cue appears. The goal is a clean start to the minigame.
- Tap with the fish. Short inputs keep the green bar near the fish icon. If the fish is low, release briefly; if it rises, tap to catch up.
- Sort the catch. Keep a bundle or quest fish in a labelled chest, sell common extras, and note which time or weather window produced it.
Ten focused casts in one location are better practice than three rushed casts in several places. Once the rhythm feels stable, compare the travel time and fish value of a second spot. This is also when the local farm planner helps: sketch a chest, path, or processing stop near the route instead of treating the fishing trip as an isolated activity.
Where and when to fish
Location, season, weather, and time are the four filters to check before you leave. The ocean can offer a different set from the river; rainy days open fish that will not appear in clear weather; and night windows can make a short evening trip worthwhile. Exact fish tables change the answer, so use the linked reference for a named catch instead of relying on a generic “best spot” claim.
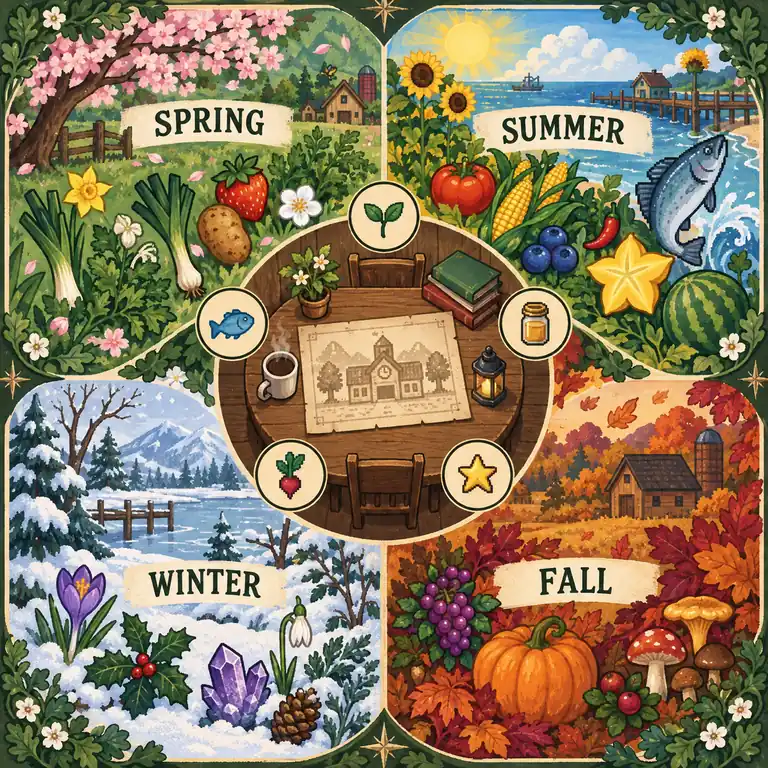
| Spot | Good planning question | Route idea |
|---|---|---|
| River | Does today's weather and time match the river fish you need? | Pair a river session with town errands and the Community Center. |
| Mountain lake | Can you fish without spending the whole morning walking? | Pair the lake with the mines or a mountain forage loop. |
| Ocean | Is the beach already on your day plan? | Bring bait, a chest stop, and a clear return route to the farm. |
| Special locations | Does the island, sewer, or another unlock change the catch table? | Use a named fish reference before spending a rare travel window. |
There is no universal best fishing spot. A high-value catch that requires a long walk can be worse for a new save than a modest fish caught next to an existing errand. When the goal is a bundle, the correct answer is the place and window that gets the item before the season closes.
Bait and tackle: when the upgrade is worth it
Bait mainly reduces the time between casts and bites, so it is most useful when you have a clear fishing window and want more attempts. It does not repair a control problem. If the green bar is still difficult, practise first or use the Training Rod; adding bait to a rod you rarely use only spends a resource faster.
Tackle changes the minigame rather than the map. A Trap Bobber slows the catch meter drain when the fish leaves the bar, which can help with difficult movement. A Cork Bobber makes the bar larger, while a Spinner or dressed spinner focuses on bite timing. Tackle wears out after repeated use, so carry a spare or return to town before an important weather window. See the Tackle reference for the exact item rules and current values.
Wild Bait and other special bait options can change the number or timing of catches, but they are not a substitute for a clear plan. For a first-year save, ordinary bait on a Fiberglass Rod is enough to learn whether faster bites improve your route. Save specialised bait for a named fish, a quest, or a session where the extra attempts have a clear purpose.
Fishing, bundles, and a first-year route
Fishing becomes easier to budget when it is connected to the Community Center. Keep one chest for bundle candidates, write the season and weather beside a missing fish, and check the in-game bundle screen before selling duplicates. The Community Center bundles guide explains how fish compete with crop, forage, and mine routes; this page focuses on the fishing control and timing that supplies those entries.
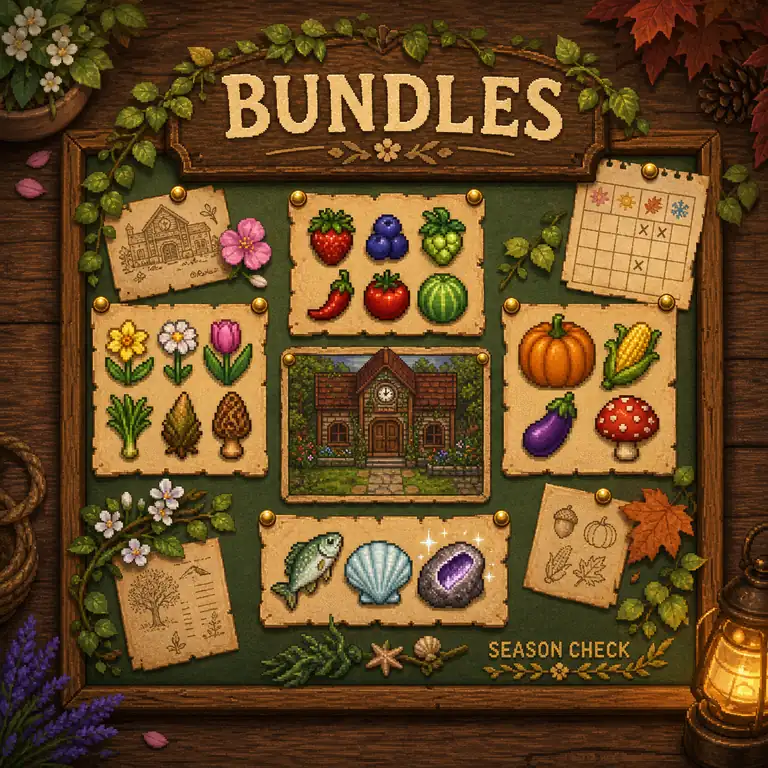
A simple first-year route looks like this: practise near the first available water, keep one unusual fish, add fishing to rainy-day plans, and only then reserve a full morning for a specific bundle window. If your farm route is crowded, use the farm layout guide to place a chest and walking lane near the exit. A fishing plan that fits the farm is easier to repeat than a theoretically perfect list of catches.
This page intentionally does not reproduce every fish, legendary condition, or remixed bundle combination. Use the current in-game screen and the linked community-maintained references for a named fish, then use the routine here to make the attempt repeatable.
Common fishing mistakes and limits
- Buying tackle before learning the bar: gear can soften a problem, but it cannot replace short, controlled inputs.
- Walking to a “best” spot without a route: travel time can erase the value of a slightly better catch.
- Selling the only bundle fish: label a chest and move one copy before shipping or processing.
- Ignoring weather and time: a clear day may not be interchangeable with a rainy or late-night window.
- Treating the guide as a complete database: version, platform, mods, and remixed rules can change the exact answer.
For an exact fish name, verify the current season, location, weather, time, and rod requirements in the community-maintained Fishing reference. It is a useful research source, not an official developer database. The official Stardew Valley site confirms the game identity and publisher context; it does not replace a detailed fishing table.
Stardew Valley fishing questions
What is the best fishing rod in Stardew Valley?
The Iridium Rod is the most flexible because it can use both bait and tackle, but it is not the best first purchase for every save. Use the Training Rod to learn control, the Fiberglass Rod when bait will increase your useful casts, and buy the Iridium Rod when fishing is a regular part of your route.
How do you fish in Stardew Valley?
Cast near a fishable water tile, wait for the bite, press the action button, and keep the green bar over the fish icon until the catch meter fills. Short taps are usually easier than holding continuously because the bar has momentum.
How do you attach bait to a fishing rod in Stardew Valley?
Bait can be attached to rods that support it, including the Fiberglass Rod and Iridium Rod. Select the bait and apply it to the rod in the inventory, then confirm that the bait count is decreasing after casts. The exact controller or mouse gesture varies by platform.
Which fishing spot is best in Stardew Valley?
There is no single best spot for every fish. River, mountain lake, ocean, and special locations have different tables, and season, weather, and time also matter. Choose the spot that matches the fish you need and the route you already plan to walk.
Why is fishing so hard in Stardew Valley?
The green bar accelerates and the fish can change direction. Use short inputs, leave room for the fish to move, and practise with the Training Rod if needed. Fishing skill levels also make the bar more forgiving over time.
Should I sell every fish I catch?
No. Keep one copy of unusual or bundle-relevant fish in a labelled chest before selling extras. Check the in-game bundle screen and current reference table first, because remixed bundles and platform or mod differences can change which fish you need.
Bottom line
Start with the rod you can use today, practise a controlled green-bar rhythm, and choose a water spot that fits the rest of the day. Upgrade to bait when you want more attempts, add tackle when you understand the problem it solves, and protect bundle fish before selling extras. A clear route and a small labelled chest usually improve a new save more than chasing an expensive setup too early.
Sources and scope: Stardew Valley Wiki: Fishing, Fishing Rod, Bait, Tackle, Bundles, and the official Stardew Valley site. Facts were checked against a 1.6.15 PC reference boundary on October 31, 2026. The Wiki is community-maintained, and the three illustrations on this page are existing conceptual art rather than official screenshots. This fan guide is not affiliated with ConcernedApe or the publisher.