
Quick answer: the easiest way to finish the Stardew Valley Community Center bundles is to plan by season and travel route instead of trying to collect every item at once. Mark the room you are working on, reserve crop and forage windows, check fish by weather and time, and leave the Vault and Bulletin Board for the money and production milestones they actually require. This guide turns the standard bundle set into a practical checklist for a normal 1.6.x PC reference save.
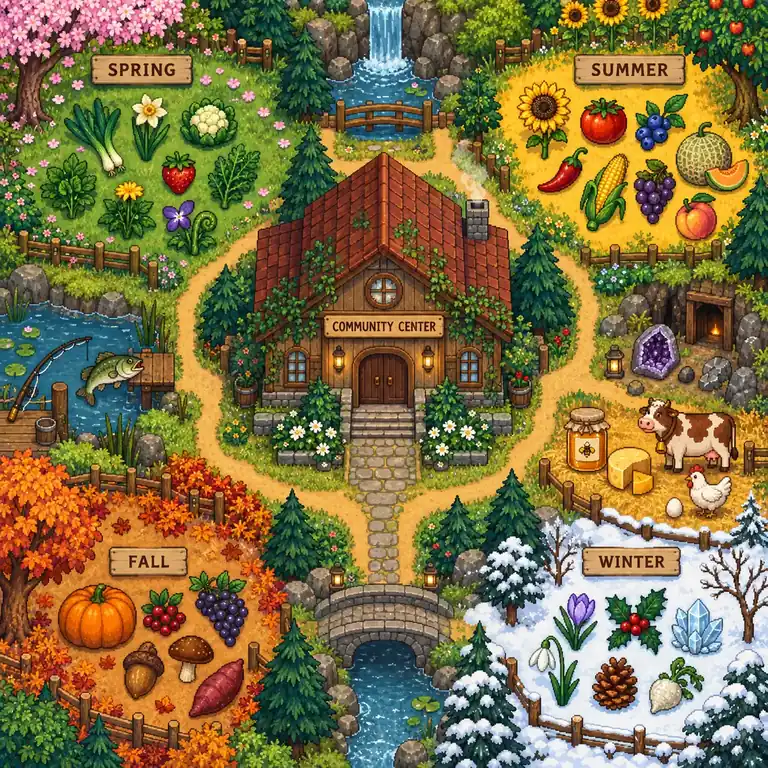
How the Stardew Valley Community Center bundles fit together
The standard Community Center has six room groups. Each one rewards a different kind of preparation, so a single “collect everything” list is harder to use than a room map. The Crafts Room is mostly seasonal forage and a few construction materials. The Pantry turns crop and animal planning into a deadline. The Fish Tank asks you to match location, weather, and time. The Boiler Room rewards mining, combat, and metal processing. The Bulletin Board mixes products, gifts, and quality items. The Vault is a direct gold target.
| Room | Main constraint | Best first move |
|---|---|---|
| Crafts Room | Forage appears in short seasonal windows; some items come from trees or the mines. | Keep one of each seasonal forage item in a chest before selling extras. |
| Pantry | Crops, animal products, and quality crops need several seasons or buildings. | Choose a small bundle field each season before filling every tile for profit. |
| Fish Tank | Fish depend on water type, season, weather, and time of day. | Make a weather-aware fishing note and carry the right tackle or bait. |
| Boiler Room | Ore, bars, geodes, and monster drops arrive through separate activities. | Mine regularly and process bars as soon as your first machines are ready. |
| Bulletin Board | Several items are gifts, artisan goods, or quality products that are easy to sell. | Read the list early and protect one copy of unusual items. |
| Vault | The requirement is money, not a specific item route. | Use seasonal crops and processed goods to build four savings milestones. |
The reward order also matters. Completing rooms opens the Boiler Room minecart repair, the Crafts Room bridge, the Pantry greenhouse, and the Fish Tank panning access. If one repair changes your daily route, it can be worth finishing that room before chasing a lower-impact bundle. The exact reward animation is less important than the time saved afterward.
Seasonal Community Center bundles checklist
Use the season as a holding pattern for decisions. A crop or forage item can be valuable twice: once for its bundle and again as income. Put the bundle copy in a dedicated chest, then sell or process the surplus. The table below is a planning order rather than a complete item database.
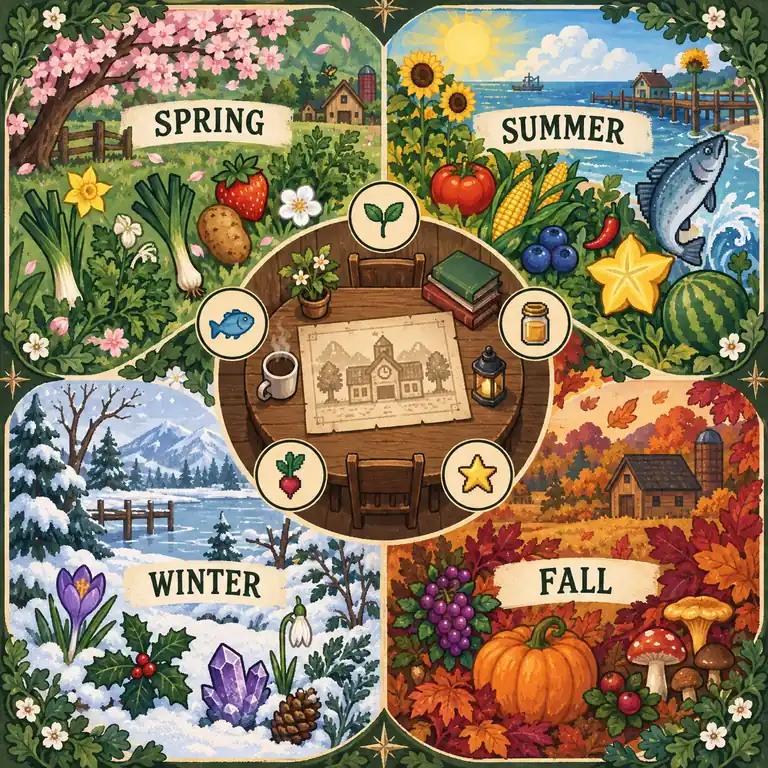
| Season | Protect first | Plan around |
|---|---|---|
| Spring | Spring forage, early crops, rainy-day fish, and the first quality-crop field. | Do not spend every crop on recipes or gifts before checking the Pantry and Bulletin Board. |
| Summer | Summer crops, beach/forest forage, ocean and river fish, and any crop needed for a multi-season field. | Leave space for repeat harvests while keeping one crop block dedicated to bundles. |
| Fall | Fall forage, pumpkins or other quality-crop attempts, and weather-specific fish. | Late planting can miss the final harvest; count growth days before using the field for income. |
| Winter / any season | Winter forage, mine drops, bars, animal products, artisan goods, and Vault savings. | Use the quiet season to sort chests and complete non-seasonal rooms rather than waiting for spring. |
For crop choices, compare the bundle commitment with the season-long margin. The site's spring crop guide, summer crop guide, and fall crop guide explain seed timing and repeat harvests; this page adds the reason to reserve a tile even when another crop looks more profitable.
Room priorities: what to finish first
There is no universal best order, but three questions make the choice concrete: which reward changes your route, which item has a disappearing window, and which requirement competes with your income plan? A new save often benefits from Crafts Room and Pantry attention because forage, crops, and the greenhouse influence many later choices. A player who enjoys fishing may prefer to record the Fish Tank windows early, while a mine-focused run naturally makes the Boiler Room easier.
Protect one copy before selling
Bundle items are often the same items that look attractive in the shipping bin: a quality crop, an artisan product, a fish, or a seasonal forage. Keep a “Community Center” chest near the farmhouse and move one copy there immediately. This small habit avoids the common loop of selling an item, forgetting it, and waiting an entire year for the next window.
Separate standard and remixed expectations
The standard bundle list and remixed bundles are different goals. A guide that mixes them without labeling the rule set can send a new player after the wrong item. The reference used here is the standard PC set associated with Stardew Valley 1.6.15. If the save enabled remixed bundles, a mod, or a platform-specific change, use the in-game list and a current reference page as the source of truth.
Use the Vault as a budget, not a panic sale
The four Vault payments are easiest when treated as a savings schedule. Set aside a small percentage of each harvest, then increase the reserve after the first processing machines are working. Avoid selling a needed animal product or a quality crop just to reach a payment early; the lost bundle window can cost more time than the short-term gold helps.
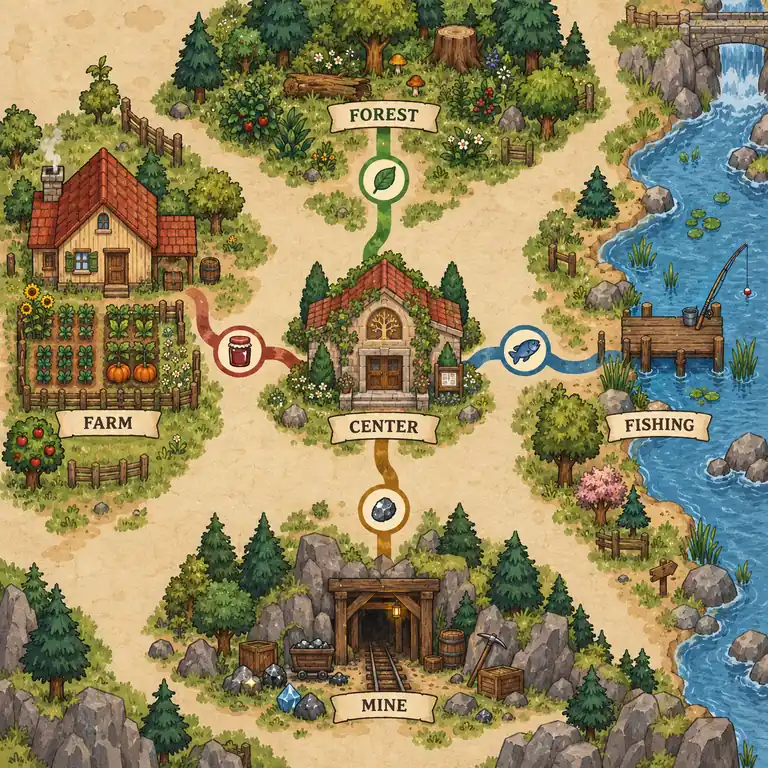
A repeatable collection route
Instead of opening the wiki for every missing item, run a short weekly review. This keeps the guide useful even when your farm has a different map, profession, or multiplayer routine.
- Read the in-game bundle screen. Write down only the missing items and the room they belong to. Do not copy completed items into a second list.
- Mark the next time window. Add season, weather, time, location, and whether the item needs a building or machine. For fish, this prevents a clear-weather day from being wasted.
- Reserve the farm tile. Plant the bundle crop in a small block, leave a path to it, and keep one quality-crop area separate from your normal profit field.
- Batch travel. Combine forage, fishing, and mine trips with the same day's errands. A short route that you repeat beats a perfect route you rarely follow.
- Turn in and update. Deposit the item, tick the room, and record the next reward or dependency. The checklist is a moving plan, not a static shopping list.
The homepage bundle checklist is useful for marking a small set of goals, while the farm planner can sketch the crop block, chest, path, and processing corner that support them. Keep the visual plan lightweight; it should answer “where does this go?” without pretending to validate every collision rule.
Use a planner without overplanning
A Community Center checklist becomes easier to act on when its physical consequences are visible. Put the bundle field beside the route you already walk, reserve a chest for forage and fish, and leave a little open space near machines. The farm layout guide covers flexible zones and daily paths, while the greenhouse layout guide helps when the Pantry reward changes your crop plan.
Do not lock the farm around an early estimate. The first year changes quickly: a new sprinkler, a repaired bridge, a greenhouse, or a different crop goal can make yesterday's layout obsolete. Save a simple sketch, label the assumption and game version, and revise it after each major room reward.
Common misses and this guide's limits
- Selling the only copy: move one item to the bundle chest before shipping or processing.
- Ignoring weather and time: fish are not interchangeable; note the exact window instead of hoping to find the same fish tomorrow.
- Planting too late: count growth and regrowth days, especially in Fall, before using a field for a bundle crop.
- Mixing standard and remixed lists: confirm the rule set in the save before following an external checklist.
- Treating the site as a complete database: Valley Ledger's interactive sample is intentionally small. Use the linked source pages and the in-game screen for complete, current requirements.
This page is a planning guide, not an official data feed. Version 1.6.15 PC references were checked for the site's current data boundary; future patches, remixed bundles, mods, professions, and platform differences can change the best route. When a claim affects a scarce item, verify it in the current save before spending the season.
Stardew Valley Community Center bundles FAQ
What is the best order for Stardew Valley Community Center bundles?
There is no single best order. Start with the room whose reward changes your daily route, then protect seasonal items and use the in-game missing-item list to choose the next trip.
How do I avoid missing a Community Center bundle item?
Keep one copy of every unusual crop, forage item, fish, quality product, and artisan good in a dedicated chest. Check weather, time, location, and season before selling the surplus.
Are remixed Community Center bundles included?
No. This guide uses the standard PC reference boundary associated with Stardew Valley 1.6.15. Remixed bundles, mods, and platform differences should be checked against the save's in-game list.
Should I finish the Vault first?
Treat the Vault as a savings schedule rather than a panic sale. Seasonal crops and processed goods can fund the payments, but selling a one-time bundle item can delay a room for a full year.
Which Community Center bundles depend on seasons?
Crafts Room forage, Pantry crops, and many Fish Tank entries have seasonal windows. A season table helps you protect the item before the window closes and prevents a year-long wait.
Can the Valley Ledger planner track every bundle?
Not yet. The homepage checklist is a small interaction sample, not a complete automatically updated database. Use it for a quick visual plan and verify complete requirements in the current save and linked reference pages.
Summary
The fastest Community Center plan is a seasonal routine: protect one copy, record the next weather or growth window, batch the trip, and use each room reward to shorten the next route. Start with the in-game list, use a room table to choose priorities, and keep standard versus remixed rules separate. A small farm sketch and the site's crop guides can support the plan, but the current save and current reference source remain the final check.
Sources and scope: Stardew Valley official site and the Stardew Valley Wiki Bundles reference. The wiki is community maintained; it is cited for reference context, not presented as an official database.