
Quick answer: For a productive Stardew Valley Skull Cavern run, unlock the Skull Key and the desert bus first, then bring a reliable weapon, healing food, one useful food buff, bombs, and a small staircase reserve. Aim for the next exit instead of mining every rock. There is no elevator in the standard game, so each visit starts at the entrance again; a level 100 run is mostly a preparation and time-management problem.
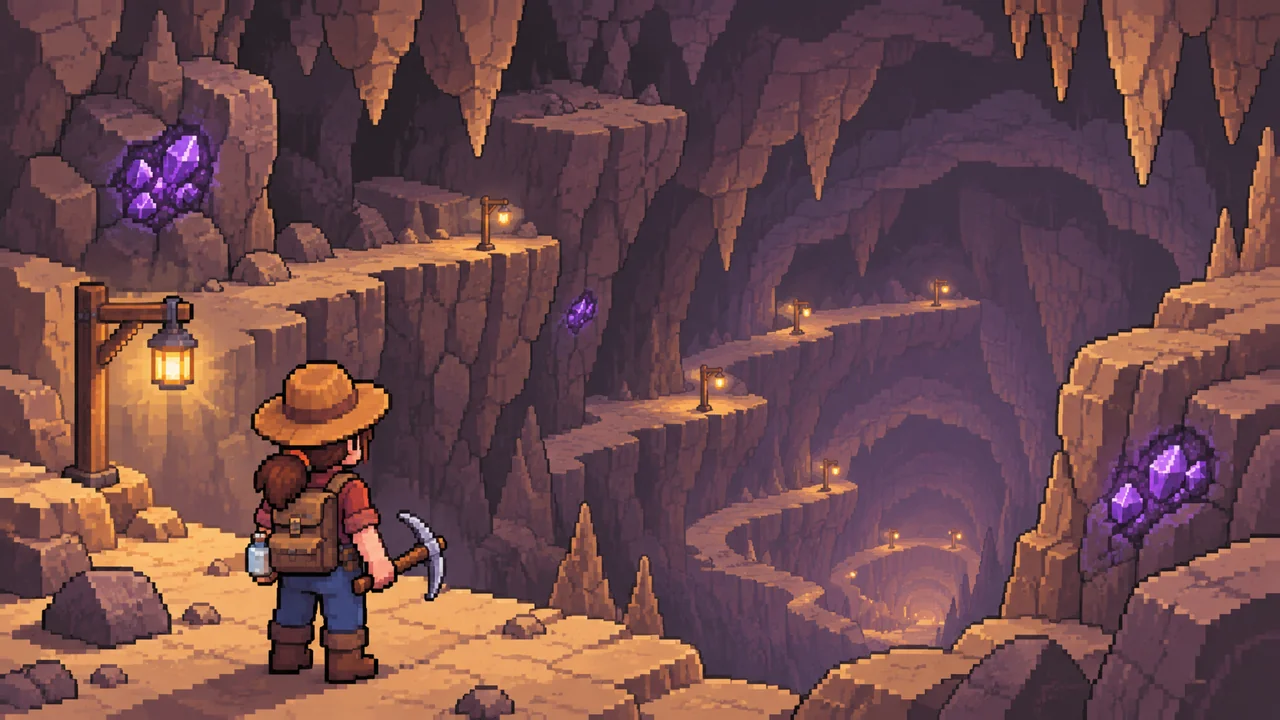
How to unlock the Stardew Valley Skull Cavern
Two separate milestones open the route. First, reach floor 120 in the regular Mines to receive the Skull Key. Second, restore the bus to the Calico Desert. With the Community Center route, the Vault bundles repair the bus; the Joja route has its own community-development option. Once the bus is operating, the Skull Cavern entrance is in the northwest area of the desert.
The key and the bus solve different problems: having the key does not transport you to the desert, and a repaired bus does not replace the key. If the bus is still a goal, use the Community Center bundles guide to plan the Vault savings alongside seasonal items. Check your in-game map and journal before spending a day on the trip.
There is no need to wait for perfect late-game gear before taking a first look. A short practice visit can teach you how quickly your current weapon handles flying serpents, how much healing you need, and whether bombs or stairs fit your play style. Treat that first run as a test, not a score.
Skull Cavern tips: choose supplies by job
There is no single mandatory loadout. The useful question is what each slot lets you do: survive a surprise attack, clear a cluster of rocks, or skip a floor that would consume too much time. The table is a decision aid, not a claim that every player needs every item.
| Supply | What it helps with | Practical choice |
|---|---|---|
| Weapon | Serpents and other enemies can interrupt a route. | Bring the strongest weapon you can use confidently; do not enter with a tool as your only defense. |
| Healing food | Restores health after damage. | Carry a quick-to-use stack and heal before health becomes critical. |
| Buff meal | Luck or speed can make a run more efficient. | Choose one meal for the goal. Eating another buff meal replaces the active food buff. |
| Bombs | Clear dense rock groups faster than mining each tile. | Use them where several rocks are close together, then move clear of the blast. |
| Staircases | Skip a slow, infested, or awkward floor. | Keep a reserve for floors that block progress; use more when the depth target matters most. |
| Pickaxe | Break a small number of rocks or collect a reachable node. | Bring it, but do not turn a descent into a full-floor mining sweep. |
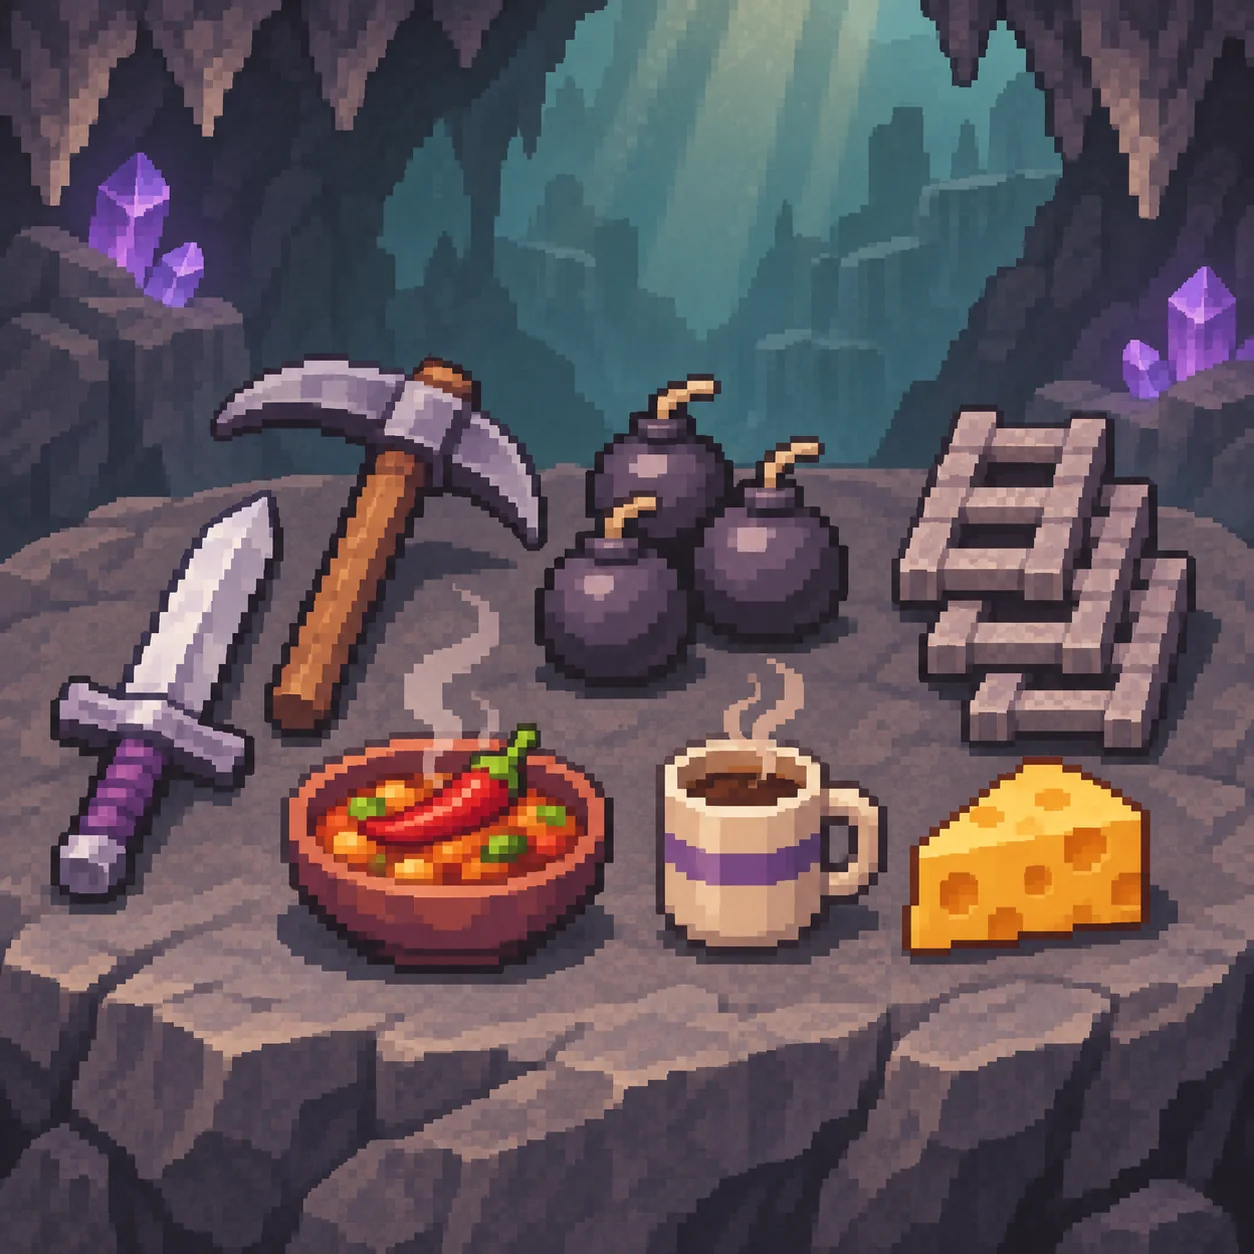
For food, separate healing from buffs. A familiar high-healing item is easier to use under pressure than a meal you have never tested. Choose a luck or speed buff only when its effect supports your plan, and do not assume multiple food buffs stack. Drinks may provide a separate speed effect, but test the combination in your current game before relying on it.
Daily luck is a useful nudge, not an entry requirement. A favorable day can make a planned run feel better, but preparation matters more than waiting indefinitely for a perfect fortune. Leave inventory space for ore, gems, and other drops so a useful floor does not become a discard decision.
How to explore Skull Cavern efficiently
Once inside, decide whether the run is for ore, combat, or a depth goal. The route changes slightly, but the same loop works: find an exit, clear only what helps, descend, and reassess health and time.
- Start with a clear goal. Decide whether you want a few resource floors or are pushing toward a depth milestone. Set a point at which you will use stairs or head home.
- Look for the fastest exit. Check for a ladder or a shaft as soon as you enter a floor. A shaft can drop multiple floors, while a ladder usually moves you down one.
- Bomb compact rock groups. Place a bomb where it can open several rocks at once, step away, and use the result to find an exit. Do not bomb a single isolated rock just because it is nearby.
- Fight only when it protects the route. Clear an enemy that is trapping you or making a safe exit difficult. Avoid chasing a serpent across a floor when a staircase would meet the goal faster.
- Use a staircase on a time sink. Infested, sparse, or awkward layouts can cost more than the stone or jade you save. The best use is the floor that would otherwise stop your run.
- Heal before the next risk. Check health before opening a chest, placing a bomb, or fighting. Healing early is more reliable than trying to recover after one more hit.
- Stop when the run stops being useful. If your bag is full, health is low, or the remaining time is short, leave with what you collected and plan another trip.
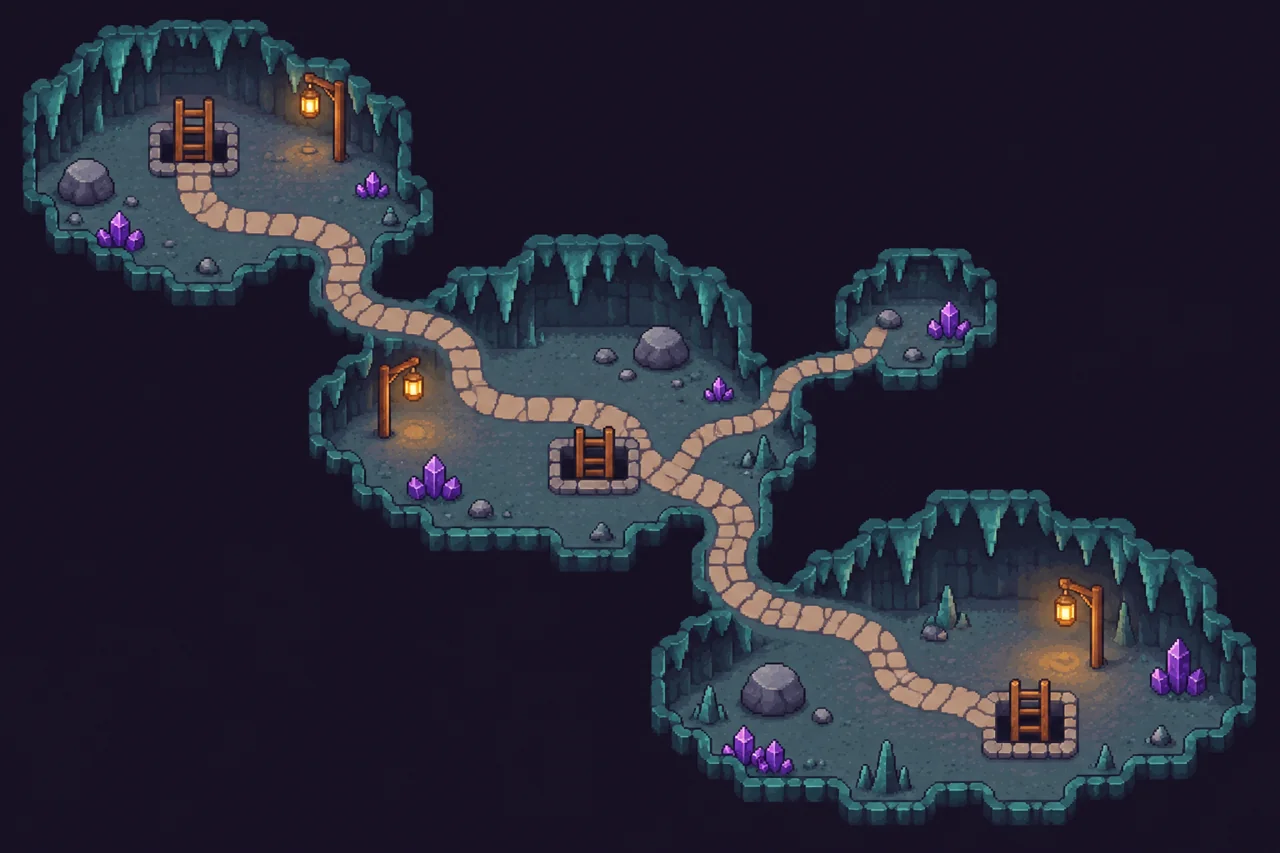
Bombs and staircases serve different purposes. Bombs convert time and resources into a faster search across a rock cluster; staircases trade a resource for a guaranteed exit. Save both for moments where they change the route, not merely because they are available.
How to reach level 100 in Skull Cavern
If you have found Secret Note #10, reaching floor 100 is the depth objective. The journal goal and the optional conversation at the bottom are not the same thing: staircases are a valid way to descend, while Mr. Qi can react differently if you use them. If you care about a particular no-shortcut response, check the current community reference before the run rather than assuming the quest requires it.
For a first level 100 attempt, make the trip itself predictable:
- Leave with a weapon, healing stack, buff meal, bombs, and more than one route to skip a bad floor.
- Start as early as your travel setup allows. A desert warp item or obelisk can give more usable time, but is optional.
- Use ladders, shafts, and staircases to keep descending; stop mining ordinary rocks once they no longer support the depth goal.
- Heal before combat and after a fall if the landing cost has put you in danger.
- Keep the quest active in the journal and confirm the floor number after each transition.
A level 100 attempt can fail because of slow floors, poor health management, or too much time spent collecting. That does not mean the loadout is wrong. Review where the day was lost, then change one thing on the next run: more healing, a few extra staircases, earlier departure, or fewer optional fights.
Does Skull Cavern have an elevator?
No elevator is available in the standard unmodded Skull Cavern. Unlike the regular Mines, you cannot save a floor milestone and ride back to it on the next visit. Each new trip begins at the entrance, which is why stairs, shafts, preparation, and a clear goal matter so much.
There is also no fixed final floor to clear. Treat each run as a self-contained trip: decide what you want, go as far as the day and supplies allow, then return. Mods can change this behavior, so check the mod description if your game has an elevator or altered floor progression.
Common mistakes that slow a cavern run
- Mining every node: resource collection is useful only when it does not erase the time needed to reach your main goal.
- Bringing buffs but no healing: a speed or luck bonus cannot recover health after a dangerous encounter.
- Saving every staircase: unused stairs do not help if one slow floor ends the run before your target.
- Fighting everything: combat is necessary for safety, but optional fights can be skipped when an exit is open.
- Overfilling the backpack: leave room before departing so valuable drops do not force a rushed discard.
- Treating one run as a test of skill: cavern layouts vary. A short review and one changed assumption can improve the next attempt more than copying a fixed inventory list.
For farm-side storage and walking routes after a run, see the farm layout guide. It can help reserve a chest near the path home without pretending to simulate in-game collision rules.
Stardew Valley Skull Cavern questions
How do you unlock the Skull Cavern?
Reach floor 120 of the regular Mines for the Skull Key, then repair the bus to the Calico Desert. The key opens the cavern; the bus provides the trip.
What is the best food for Skull Cavern?
There is no universal best meal. Choose a food buff that matches your goal, bring separate healing food, and test any food-and-drink combination in your current game.
Does Skull Cavern have an elevator?
No. The standard unmodded Skull Cavern has no elevator, so each visit starts at the entrance.
Can I use staircases for the level 100 objective?
Yes, staircases can take you down. The depth objective is separate from optional dialogue that may respond to how many shortcuts you used.
How many floors does Skull Cavern have?
There is no fixed final floor in the standard game. Choose a personal depth or resource goal for each visit.
Sources and scope
This guide describes unmodded gameplay and is written as a planning aid, not a guarantee of drops or a required build. The community-maintained Stardew Valley Wiki Skull Cavern reference and its Secret Note #10 entry are useful secondary checks for mechanics and quest details. The in-game journal and the rules shown by your platform or mods take priority when they differ.